|
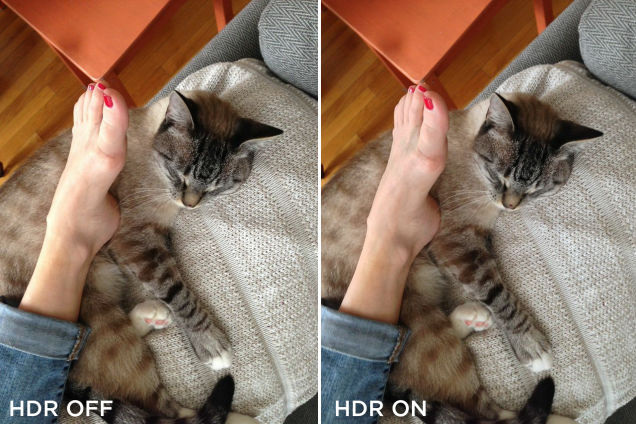
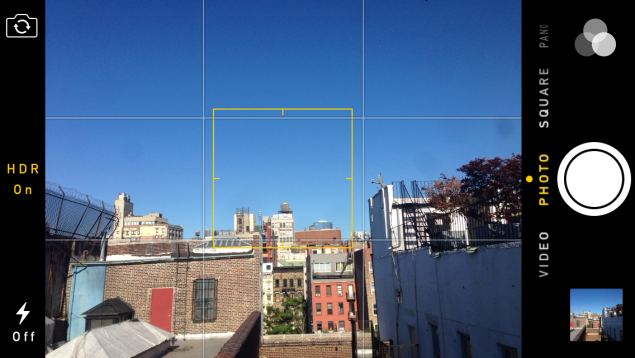
Smartphones have made quality photography fun and accessible for everyone. But there's still a lot more to it than just pointing and tapping if you want to lasting images. Here are a few simple ways to improve your everyday photo-taking. LEARN WHEN TO USE HDR MODE: HDR has become a near-universal feature on smartphone cameras, but unless you're in tune to photographic lingo, you might not know what it means, or when to use it. Basically, HDR mode will instantly capture multiple images of varying brightness, and combine them into one. Sometimes it's effective, sometimes it's ruinous. A good rule of thumb is that if you're shooting a high-contrast scene areas of extreme light and dark, turn on HDR. It usually does a good job of rescuing some detail in those overexposed areas. Don't leave HDR on all the time though, because if you are shooting a moving subject, you will end up with weird double-image muck in your picture. BE STILL: Blurry photos are possibly the greatest frustration for the smartphone photographer. How many times has an image looked fine on your phone, then when you blow it up you notice its every-so-slightly blurry? It's crazy-making. Unless you're shooting in a good amount of sunlight, absolute stillness is required in order to avoid blurry results. There are many ways to accomplish such statuesque postures. Find a wall, pole, or other structure to lean against. Hold the phone with two hands at all times and tuck your elbows into your body. If you want to get really into it, take a deep breath in and hold it just before you press take the pic. It helps, seriously! Most of all, don't get frustrated; especially in really low light, it's nearly impossible to get an absolutely sharp image with a phone. USE THE ON-SCREEN SHUTTER, NOT A PHYSICAL BUTTON: This is an extension of the previous tip. Many phones let you take a pic by pressing a physical button on the side of the device. Don't do that. It's harder to keep the phone still when exerting that pressure with your finger. Stick to the touch-screen and grace it with your finger ever so lightly. HAVE YOUR SUBJECTS FACE THE LIGHT: Never lose sight of the direction of light where you're taking a picture. You don't want your subject backlit, so look around and have them turn so the light is hitting their faces. If you are indoors, move toward a window and situate it behind you, shining its glorious rays upon the photographed. CONVERT NOISY NIGHT SHOTS TO BLACK AND WHITE: Shooting in excessively dark conditions leaves you with noisy images that often produce unnatural color. The solution is to convert these pics to black and white. Often the tonality is quite pleasing when you remove all of the ugly color shifts. CONTROL YOUR EXPOSURE: Nothing screams crappy phone pic like blown out spots in your image. Take a good look at the scene through your display and move around to avoid overly bright spots that will spill onto your subject. This isn't always possible to catch or avoid, but it's a good thing to keep an eye out for. If you notice your image is overly bright, tap around on various spots to engage the manual exposure and find the most balanced looking level of brightness. In the photo above, the camera was originally exposing for the interior of the train car. I had to tap on the bright window to get this more interesting shot. POST-PROCESSING IS YOUR FRIEND: Don't listen to haters that say how inauthentic and corny filters are. Sure, it's a better idea to make your own tweaks in apps that allow for more subtle controls over color and tone. TakeVSCO Cam or Afterlight for a spin. But if you don't have time for all that jazz, cozy up to Instagram and be proud of a little filtering. There's a reason they're so popular.
To see original article, please click here.
0 Comments
|
Details
CreatorA. Brent Lovell Archives
May 2017
Categories
All
|


 RSS Feed